Advanced Ads – Tracking

Advanced Ads – Tracking

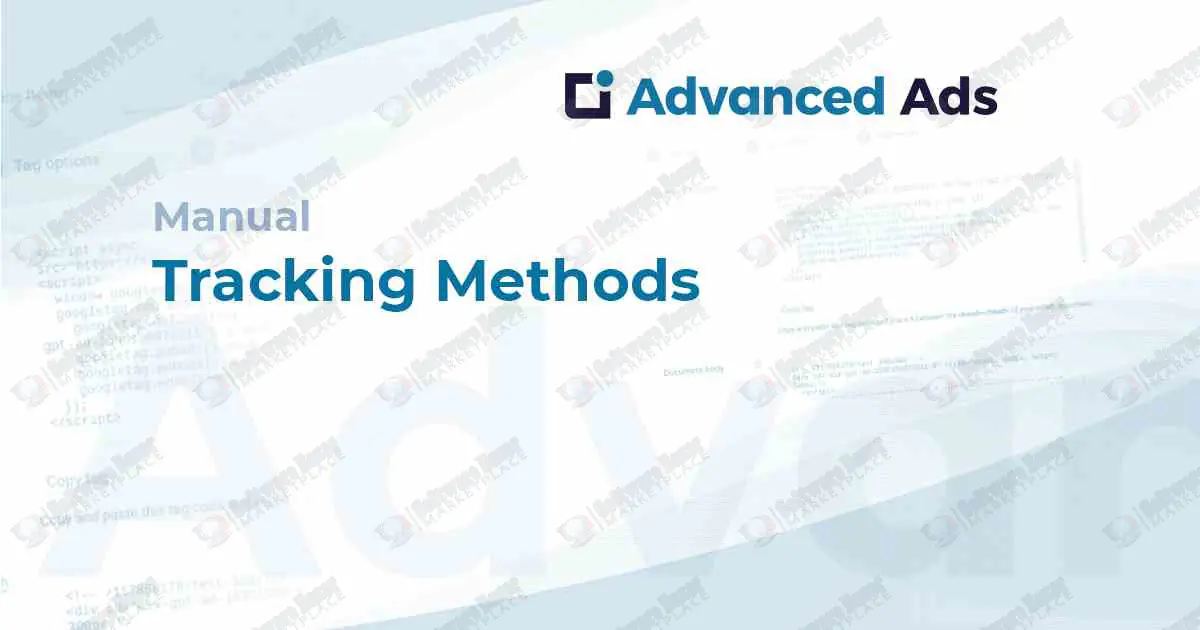
The Advanced Ads Tracking add-on allows you to monitor and report on the performance of your ads by tracking impressions and clicks. It provides detailed insights through internal statistics within your WordPress dashboard or by integrating directly with your Google Analytics account. 

Key tracking features

  • Track impressions and clicks: You can record the number of times an ad is displayed (impressions) and the number of times it is clicked.
  • Multiple tracking methods: Choose how data is collected based on your needs and server performance:
    • Frontend (default): Recommended for most users, this method uses an optimized AJAX call after the page loads to track impressions with minimal impact on your server.
    • Google Analytics: Outsources the tracking to your Google Analytics account, which is ideal if you want to combine ad performance data with other website metrics or if you have a high-traffic site with server performance concerns.
    • Database: A legacy method that records impressions when the ad is requested from the server, which can be less accurate on cached websites.
  • Performance statistics: View graphical and tabular reports of your ads' performance, including click-through rates (CTR), directly within the Advanced Ads dashboard.
  • Click tracking and link cloaking: Advanced Ads can automatically detect clicks on linked ads, including those from ad networks like AdSense. It also offers a link cloaking feature that creates cleaner, trackable URLs for image or manual ads.
  • Public and email reports: Generate public, non-indexed pages with statistics for individual ads, which you can share with clients. You can also set up automated email reports to be sent at daily, weekly, or monthly intervals.
  • Limit ads by performance: You can set a limit on the total number of impressions or clicks for an ad. Once the limit is reached, the ad will stop being displayed.
  • Disable tracking by user role: Improve the accuracy of your statistics by excluding your own clicks and impressions, or those of other internal users, by disabling tracking for specific user roles. 

How to set up tracking

  1. Install the add-on: First, purchase and install the Tracking add-on.
  2. Enable tracking: Go to Advanced Ads > Settings > Tracking and choose your preferred tracking method (e.g., Frontend or Google Analytics).
  3. (Optional) Connect to Google Analytics: If you choose the Google Analytics method, you will need to enter your Google Analytics 4 (GA4) Measurement ID in the settings.
  4. Create a custom dimension in GA4: For tracking to work correctly with GA4, you must create a custom event-scoped dimension in your Google Analytics account with the parameter event_label.
  5. View statistics: You can then view ad statistics in either the Advanced Ads > Statistics menu or within your Google Analytics reports (under the Engagement > Events section). 

Considerations for tracking

  • Ad blocker limitations: Ad blockers can prevent ad-serving scripts from running. This may lead to discrepancies between your Advanced Ads stats and those from your ad network, especially if you are using the Google Analytics tracking method.
  • Compatibility with ad types: While Advanced Ads can track many ad types, it is most reliable with linked images and other ad codes where it can control the links. Iframes from some ad networks may not be compatible with click tracking.
  • AMP page limitations: When tracking ads on AMP pages, only impression tracking is supported and only on HTTPS connections. Click tracking is not available with the Google Analytics method on AMP pages. 
License Option
Quality checked by Software Bazar Marketplace | Theme , Code, App , Plugin
Full Documentation
Future updates
24/7 Support

Published:

Sep 07, 2025 17:40 PM

Version:

v3.0.1

Category:

High Resolution:

Yes

We use cookies to personalize your experience. By continuing to visit this website you agree to our use of cookies

More